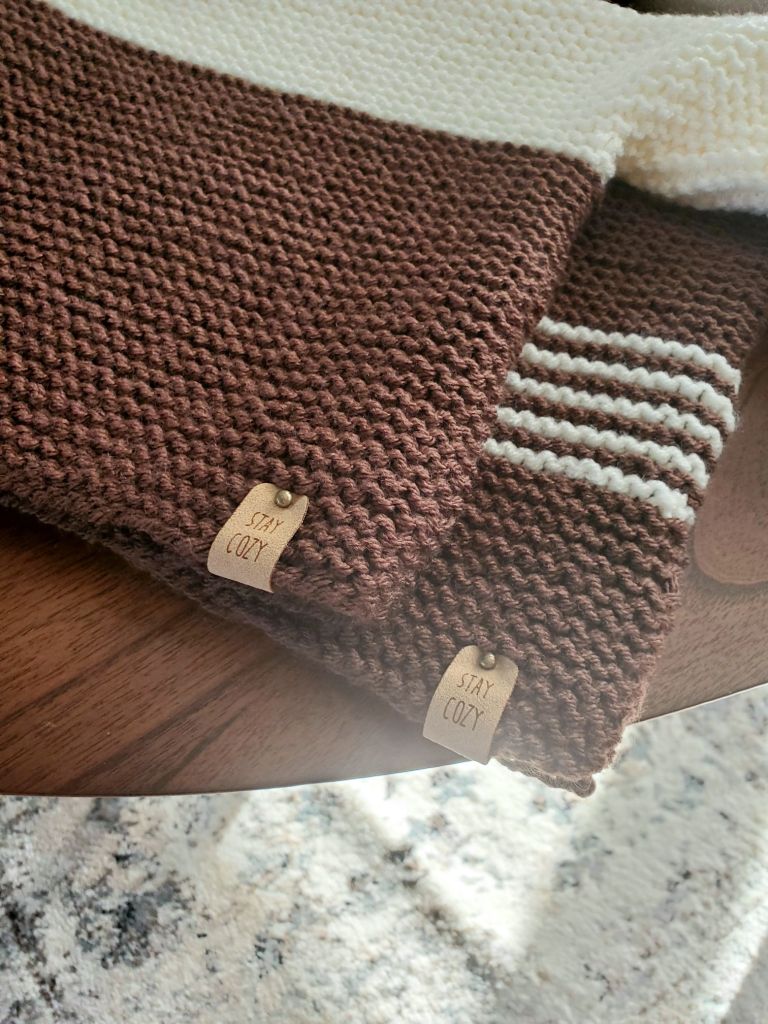
These toddler sweaters are all tagged and ready to be delivered! I made them for a friend’s twin grandsons.
I started them over 6 months ago and used measurements she gave me then, so I hope they will fit! 🤞
They were so fun and easy to knit. I saw a picture of a similar sweater and just created these based on that image. And using 2 strands of DK yarn held together makes them extra squishy and warm.
Still working away on the baby blankets. I have 3 done so far! I really love the colours! So Springy!! 💐
I still haven’t decided if I’m going to sell them on Etsy, just put them up on my Facebook page for local purchase or maybe just give them away! LOL! 🤔
I have started another one and will probably be done soon. It’s a soft, pale pink!
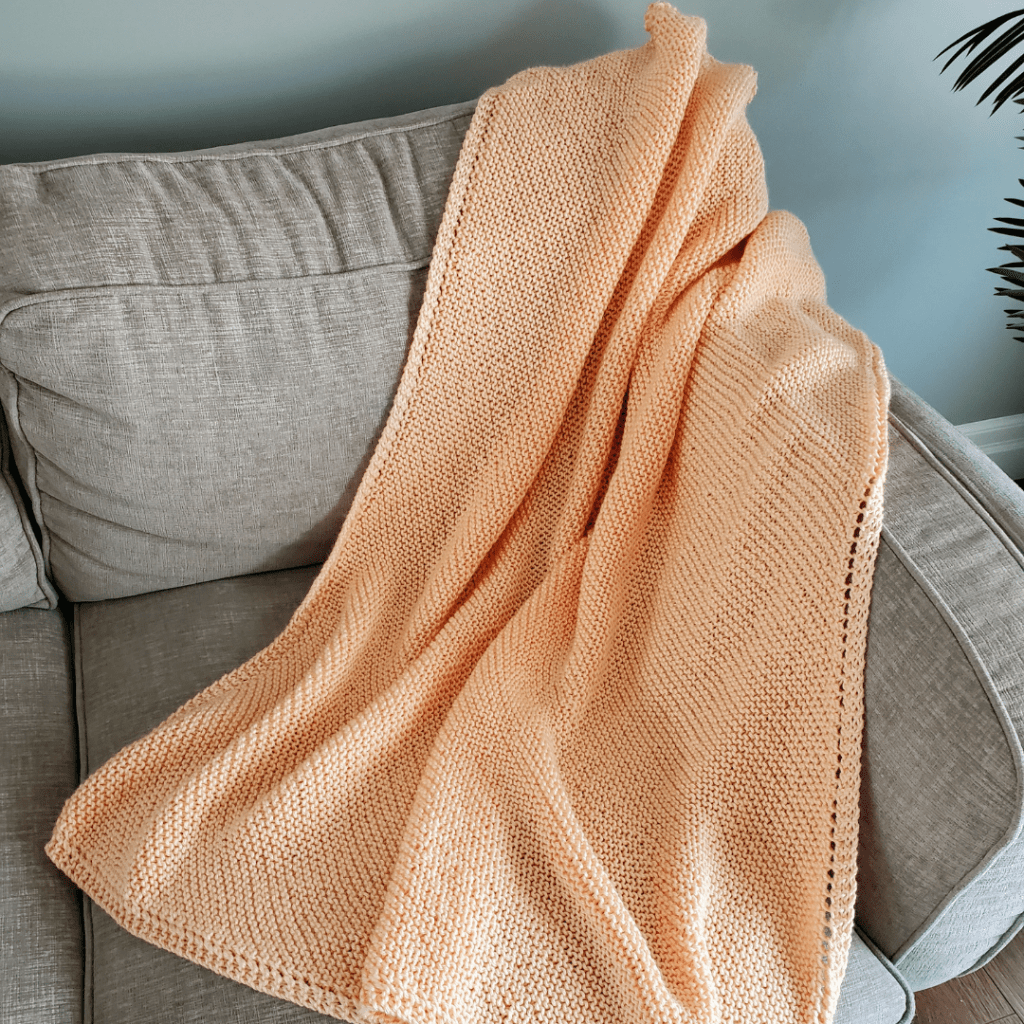
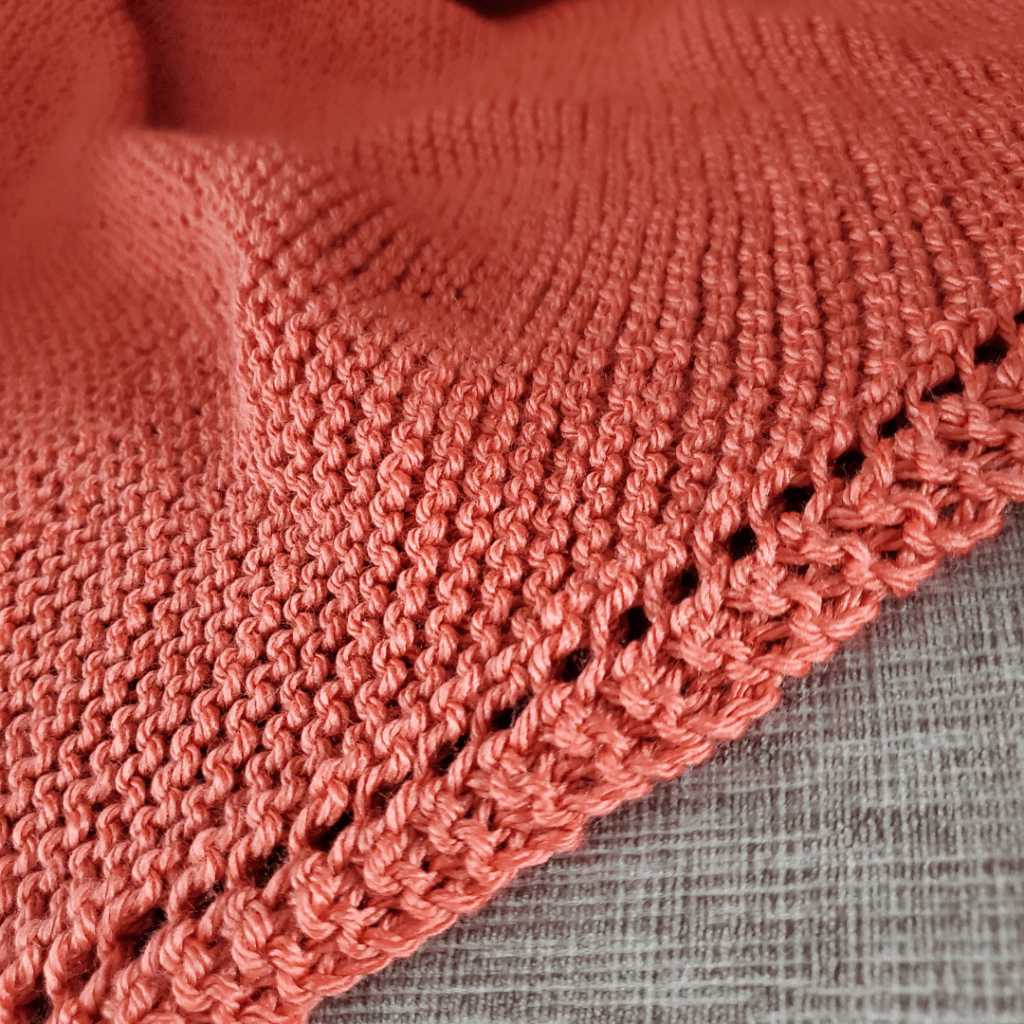
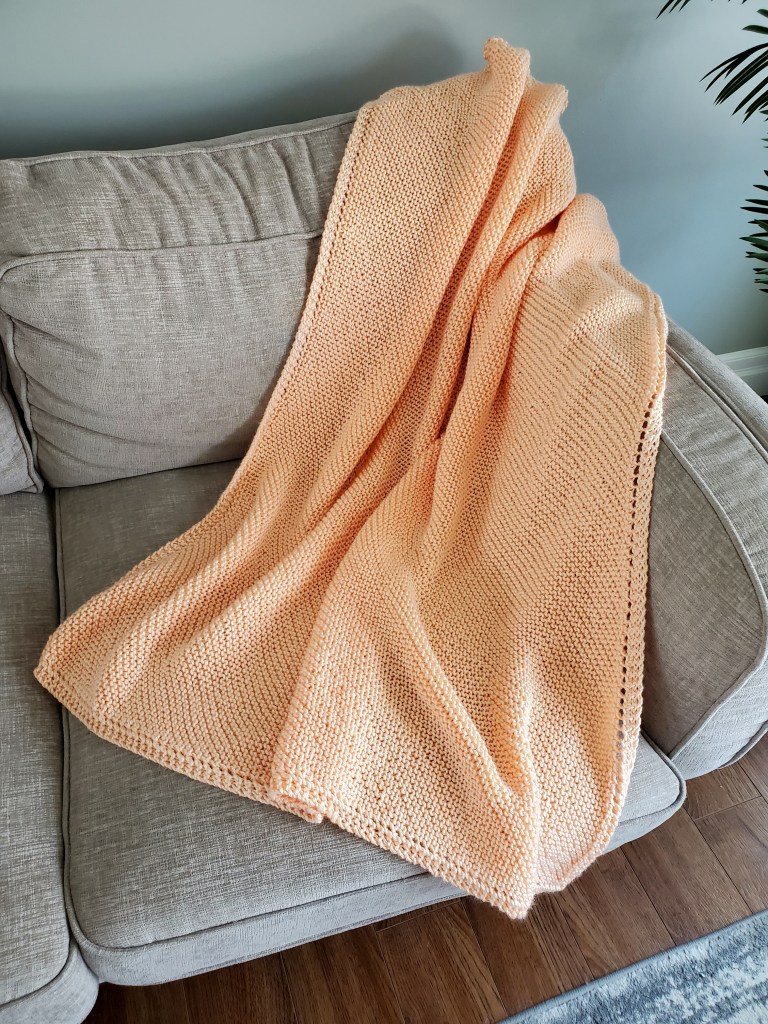
I wanted to share with you the next colour in my Spring/Summer baby blanket palette – Light Country Peach. 🍑
I’m trying to get a few blankets knit before putting them up in my Etsy shop for sale. I’m planning on having a Spring/Summer collection and then a Fall/Winter collection all based on 2024 colour trends for nurseries.
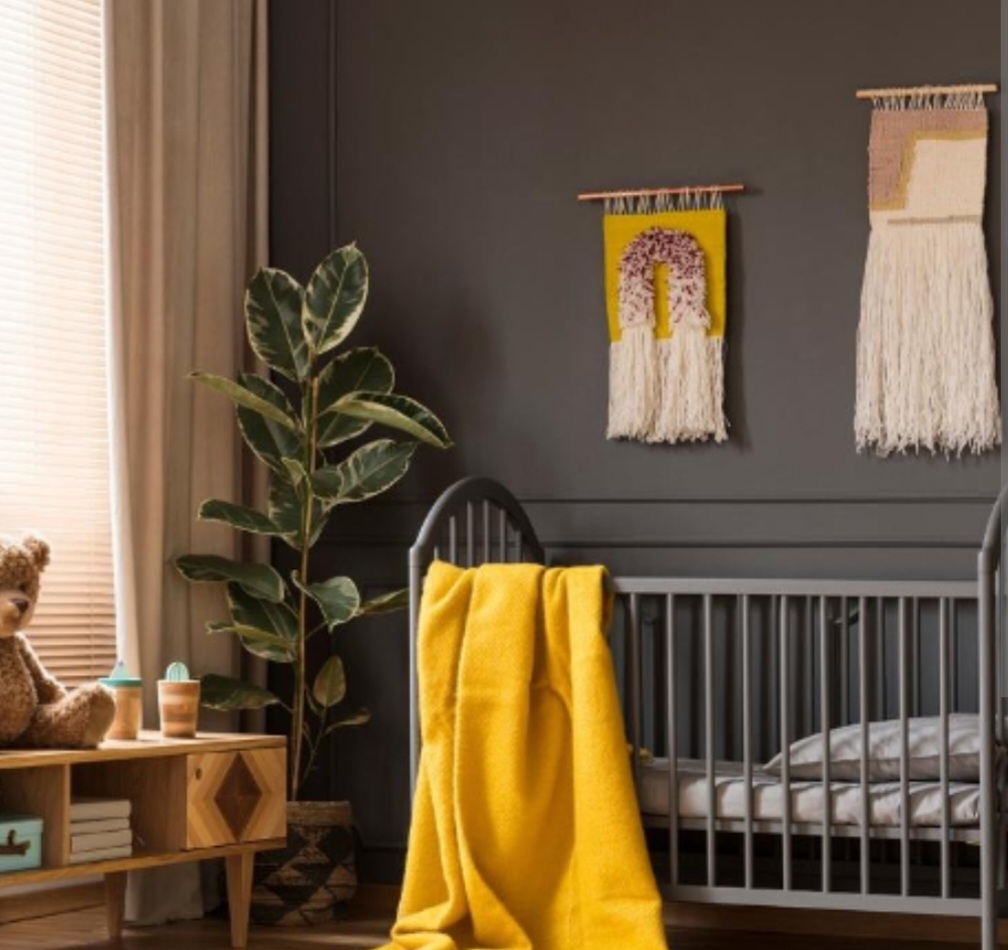
Below are images of nurseries that inspired the light country peach colour. Aren’t they gorgeous?
Well, off the start blanket number 3. The next colour up is “Persimmon” and it’s such a beautiful, vibrant colour. I can’t wait for you to see it.
Hi there everyone. I hope you had a really wonderful holiday. Mine was nice, but quiet, spent with close family.
I wanted to share with you my most recent project – this gorgeous corner to corner baby blanket.
I’m thinking in 2024 I might try my hand at selling baby blankets. I have only sold patterns to date, but I LOVE creating baby blankets, so thought I would try selling a finished product.
I’ve researched trending nursery colours for 2024 and choose some of the most popular colours to use for the blankets.
Below are some photos of nurseries that inspired the my blanket colour choice and a photo of my corner to corner baby blanket in “Gold”.
Colour inspirationColour inspirationColour inspirationMy corner to corner baby blanket in “Gold” inspired by the nursery pictures above
I promise to keep you up to date with whether or not I decide to sell the blankets on line. I truly think though, I will give it a shot. Really, what do I have to lose?? 🙄
Well, off to get my second blanket started.
I hope you have a great day and that it involves some knitting! 😉
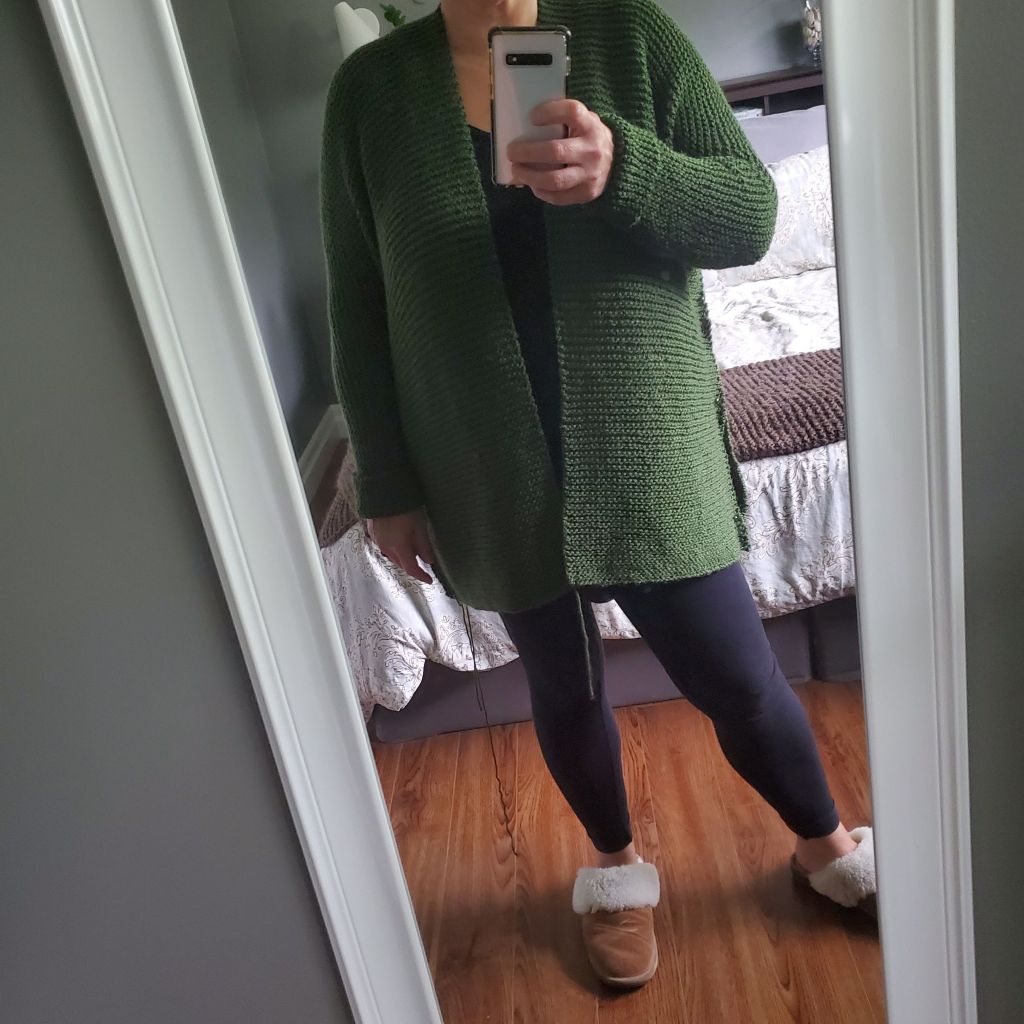
I have a new pattern out and it’s my first cardigan pattern.
The Cool Morning Cardigan is a heavier weight cardigan that is truly a cross between a cardigan and a light coat. It’s sure to become your favourite go to piece on those cool, chilly mornings. 😉
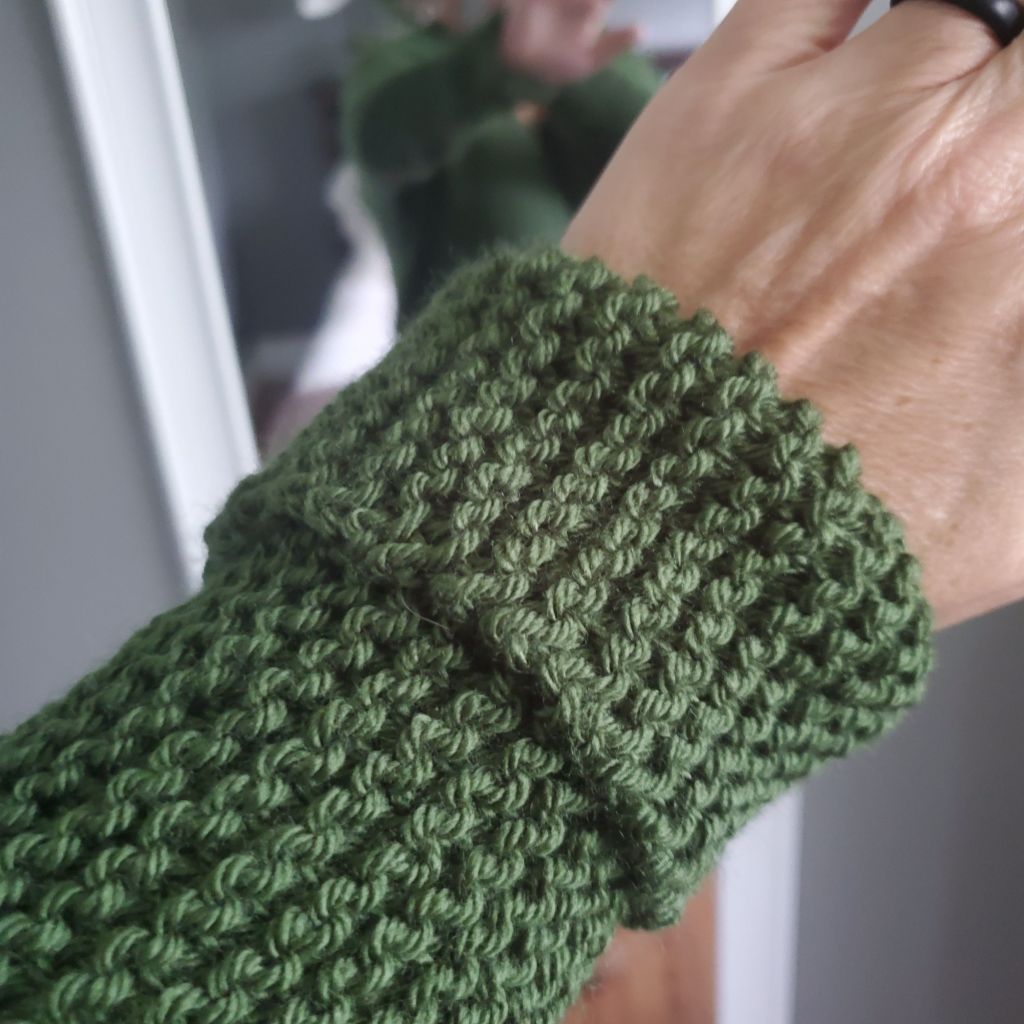
The Cool Morning Cardigan is made by holding 2 strands of yarn together creating a thicker knit. It has a full sleeve and falls mid calf. It features slits on the sides and a ribbed cuff.
It is 2 identical pieces that are sewn together so it’s a great pattern for a beginner knitter.
The pattern is written in one size, but notes are included should you wish to modify the size.
It’s available in both my Etsy shop and on lovecrafts.com so head on over and grab yourself a copy.
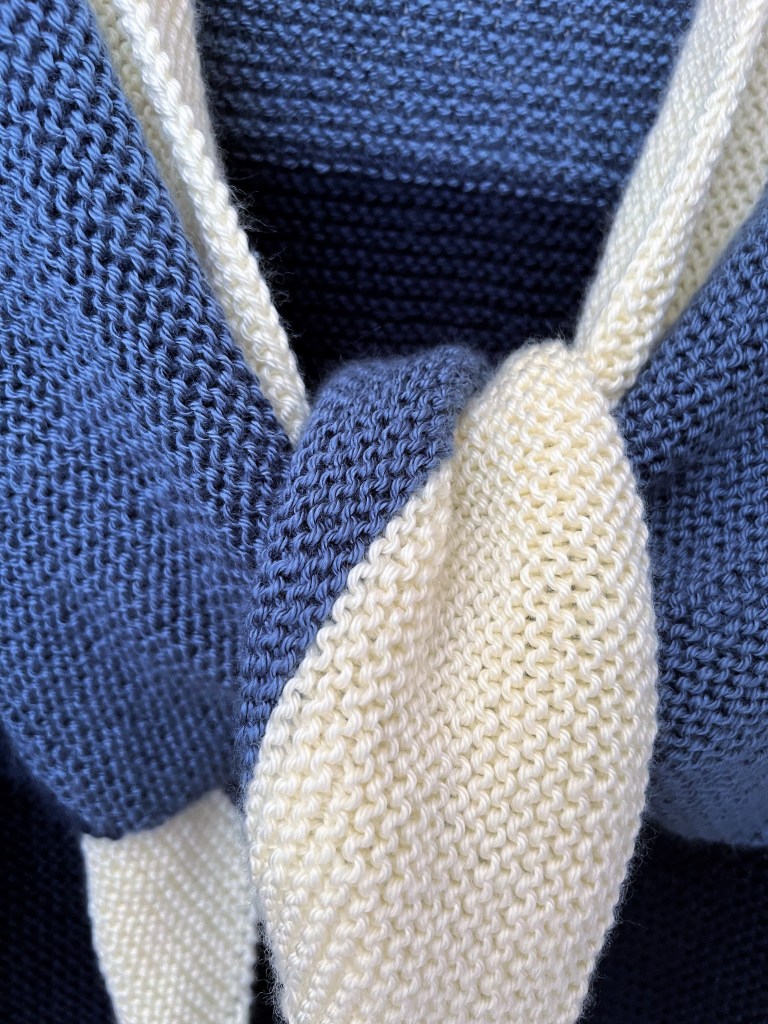
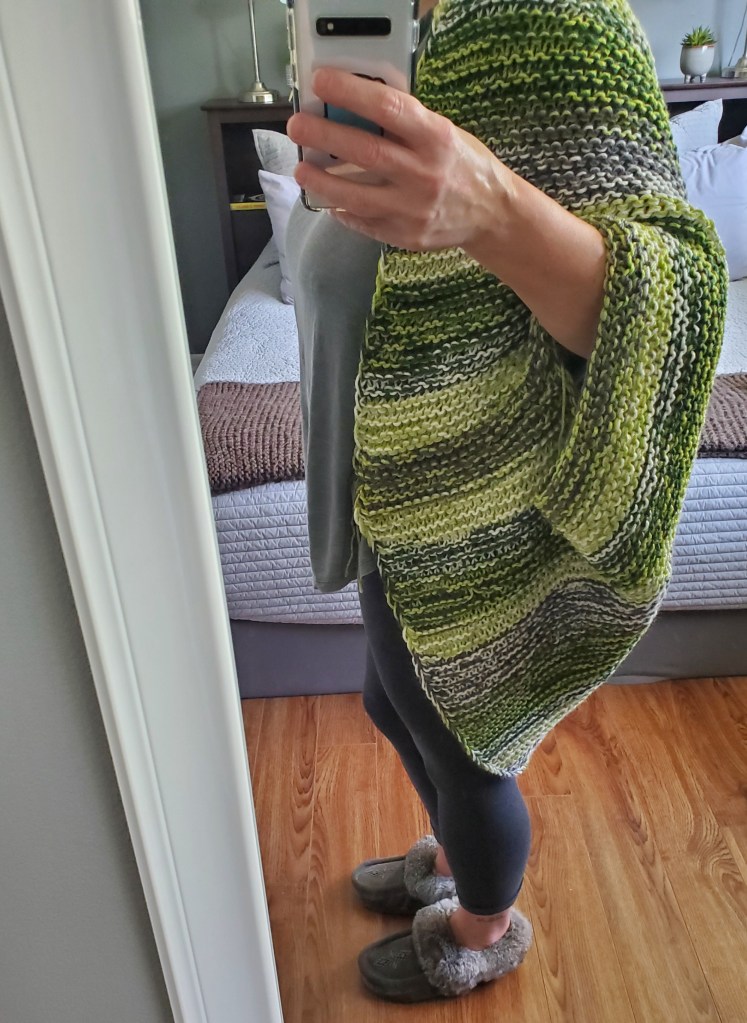
I’ve been seeing these cocoon sweaters everywhere and they look super cozy so I decided to make one using up some yarn I had left over from other projects.
I was so excited when I finished it, I took pictures even before I had the ends woven in! LOL!
I double knit this using 2 strands of yarn at one time.
Below is the pattern if you want to make one too! 🙂
You’ll need approximately 1600 yards of a medium weight acrylic yarn (also called Aran weight or #4).
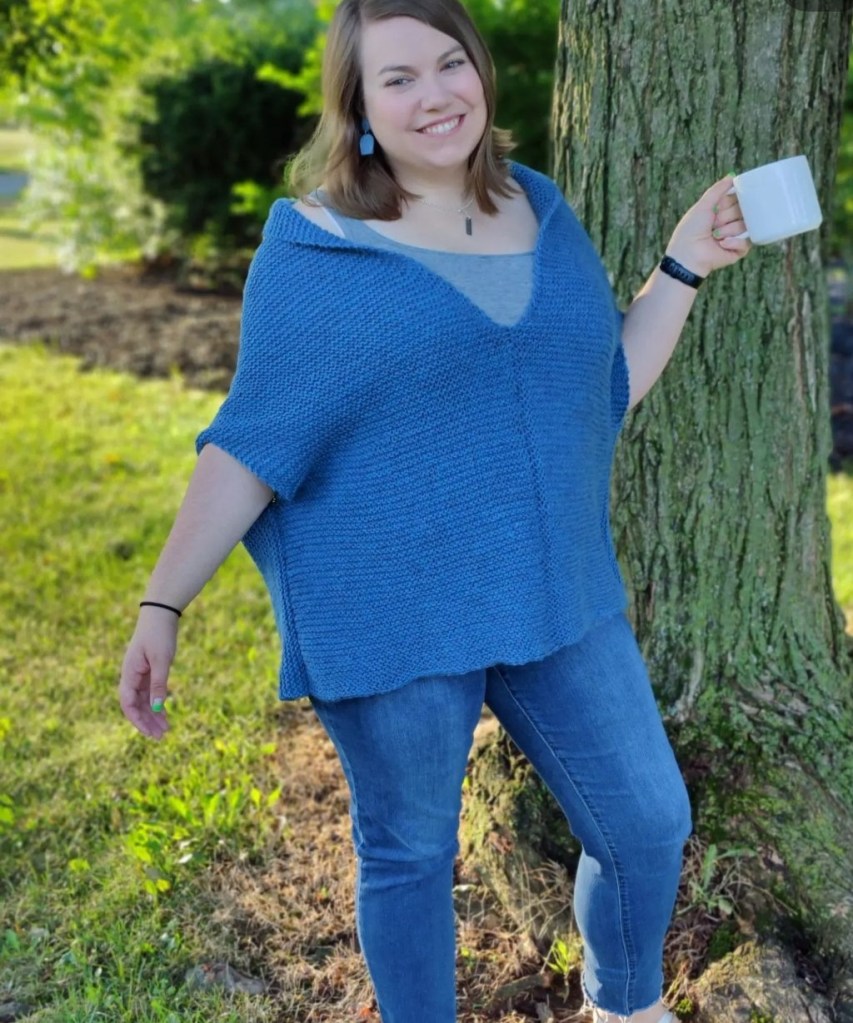
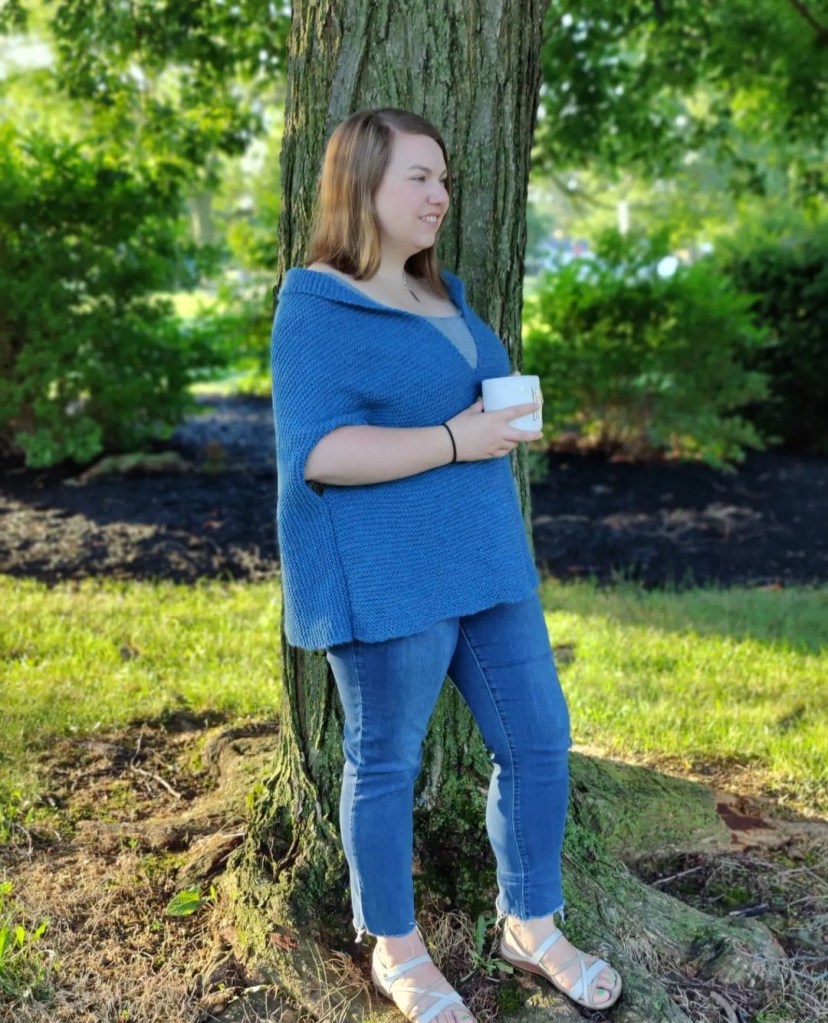
It’s double knit using 2 strands of yarn at one time, so you’ll be working with 2 balls of yarn at all times. You can use either 2 balls of the same colour of yarn or 2 balls of different colours like I did above. It’s completely up to you!
US size 13 circular needles to hold the stitches only. It’s knit flat.
This piece is knit lengthwise.
GAUGE: Approximately 3 stitches per inch.
Finished size measured on a smooth, flat surface is 36″L x 38″W. (The piece will stretch in length when you put it on). For reference, I’m 5″4″ and the sweater goes to the back of my knees.
Cast on 100 stitches with 2 strands of yarn held together creating 1 stitch.
PATTERN: Slip the first stitch purl wise with your yarn in the back, knit across to the last stitch, purl the last stitch. The slipped stitches give the sweater a nicer finished edge.
Continue the above pattern for every row until the piece measures 38″W on a smooth, flat surface. Cast off in pattern
ASSEMBLY: Fold the sweater in half matching up the slipped stitch edges and sew together the sides for 11″ leaving 7″ for the armholes.
And that’s it! Nice and simple.
Of course, if you have any questions, feel free to reach out.
It’s a quick knit, so you have plenty of time to make one before it gets REALLY cold!